
Dual booting Windows 7 and Linux Mint
tldr;
This is a tutorial of how I created my dual Windows 7/modern Linux development setup, to reuse a second hand Ivy Bridge-based computer.
Overview
For some time, I wanted a dual boot setup to write/test code on for emulation as well as other things. I wanted to delve deeper into the Linux side of development as that is one part I found sorely lacking. Also I wanted to push myself into developing for old operating systems, such as Windows 7. This is the result.
Preparing the installation media
This is done through two steps:
- Downloading the ISOs needed for the 2 different OSes.
- Preparing them using a secondary PC.
Downloading the media for each is a straight-forward task:
-
Acquire the Windows 7 ISO needed, which is a VL version of Win7, namely Enterprise
-
Acquire the Linux distro needed, which in this case I use Linux Mint
Preparing the ISOs though is another task.
I used Rufus to prepare the Windows 7 Enterprise ISO on a seperate Windows 7 PC. Rufus doesn’t seem to work well in Wine, hence why this process.
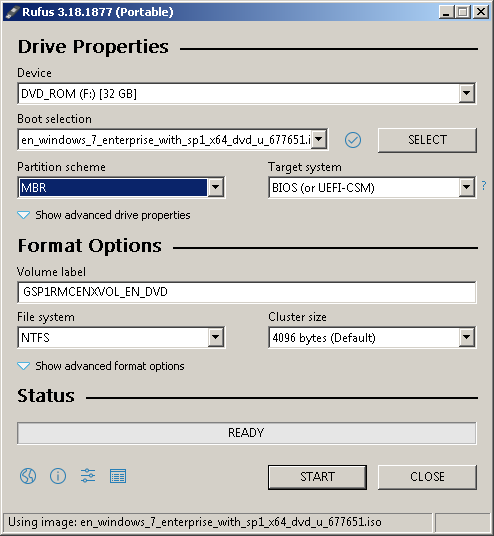
With the Windows 7 ISO however, it was simple as downloading it, selecting it in Rufus and then preparing it.
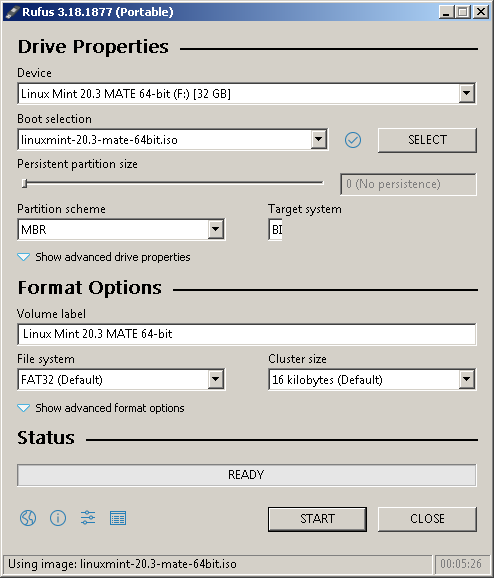
For Linux Mint however, Mint did require a extra step in downloading some dependancies needed for the boot image on the USB drive.

From there it was smooth sailing.
Preparing Windows 7
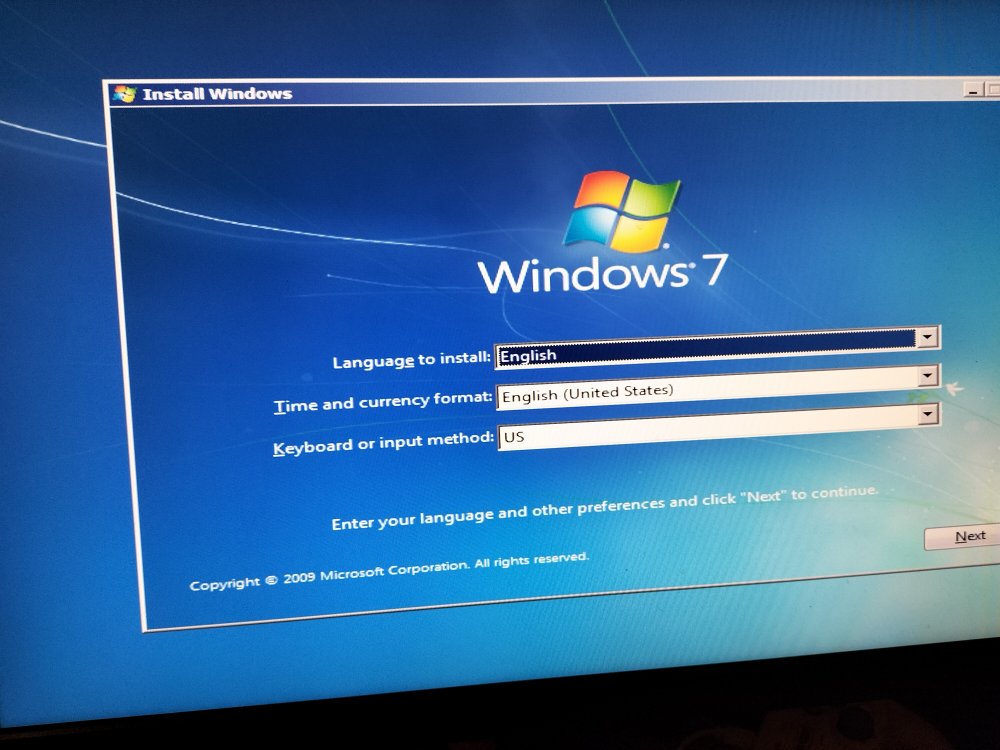
Installing Windows 7 itself was simple enough:
-
Boot from the USB drive (depending on your boot configuration might need to make it boot from USB)
-
Install Windows 7
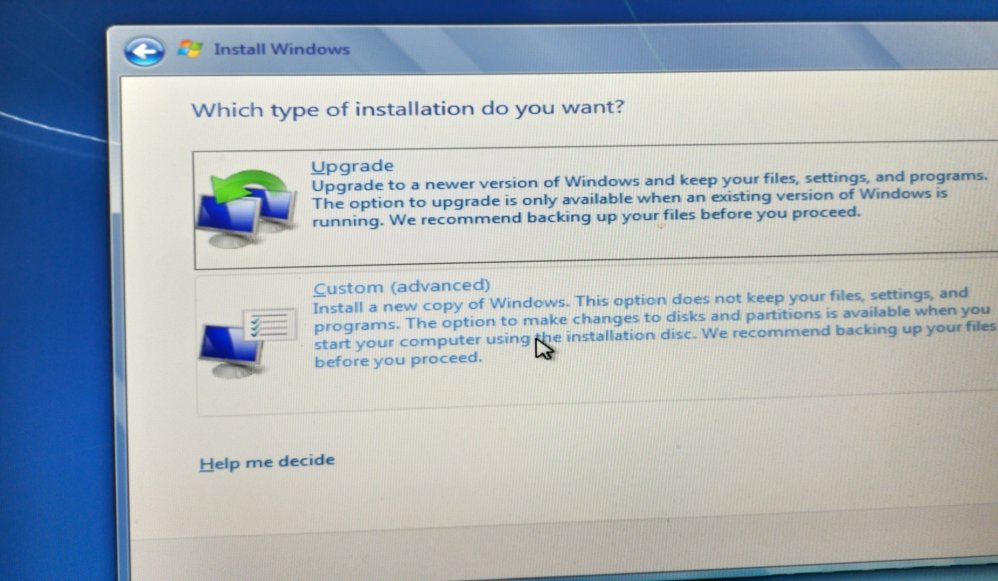
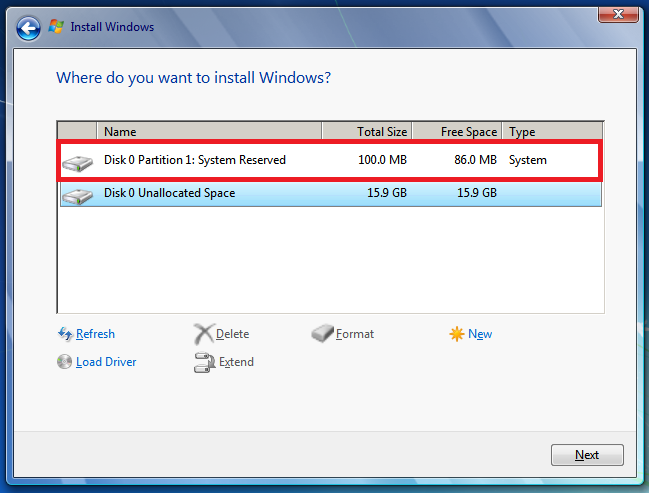
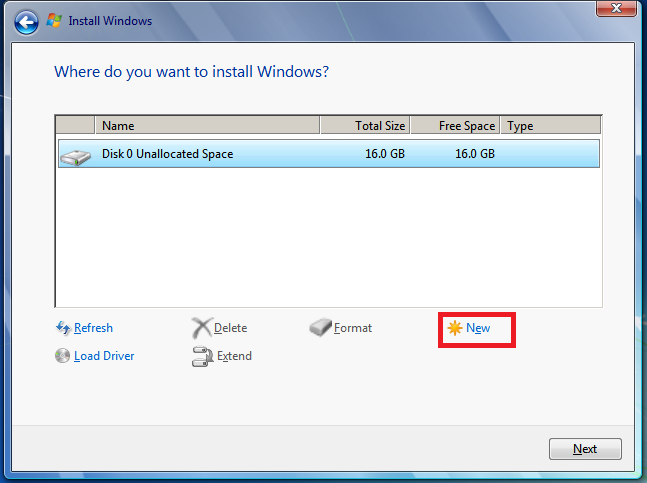
If any partitions are present it is needed to select on them and delete them and recreate one single partition.
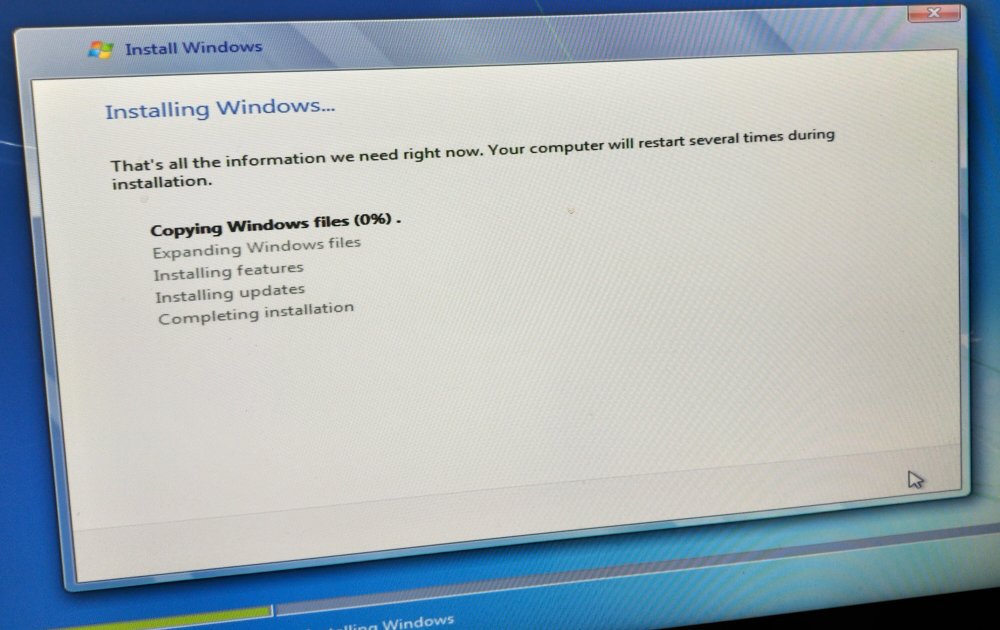
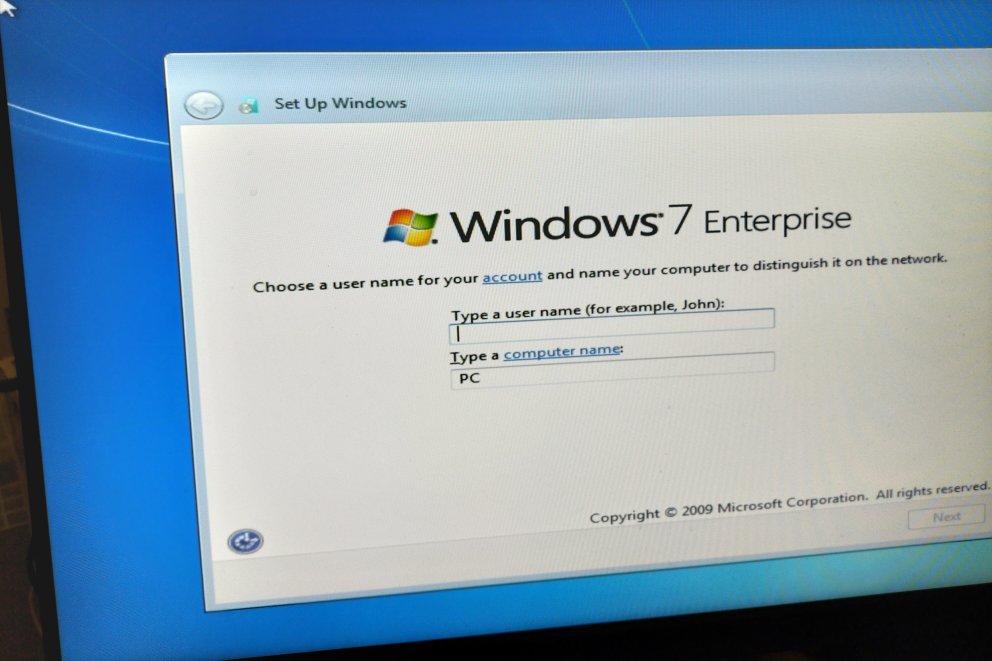
The rest of the steps were fairly straightforward.
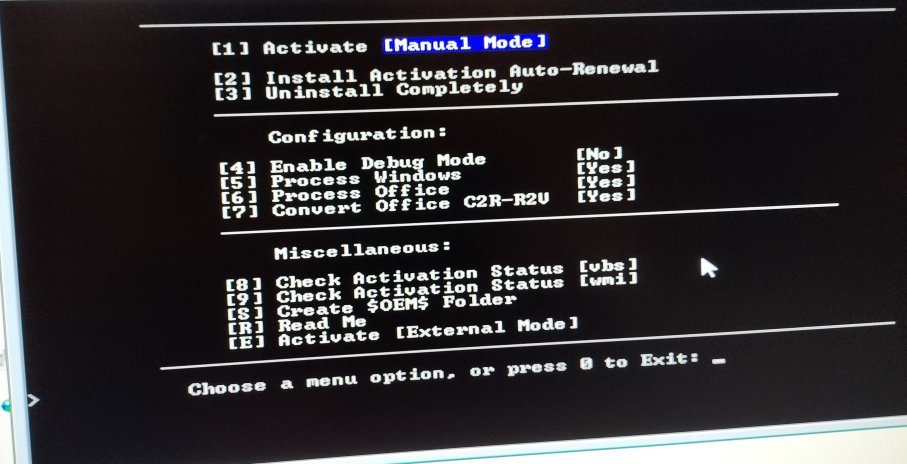
Patching Windows 7’s copy protection was one such process, though its possible to also use a legitimate Windows 7 license when prompted. Its best to do this after the Linux setup is complete to minimize risk of adding hardware changes to the official license.
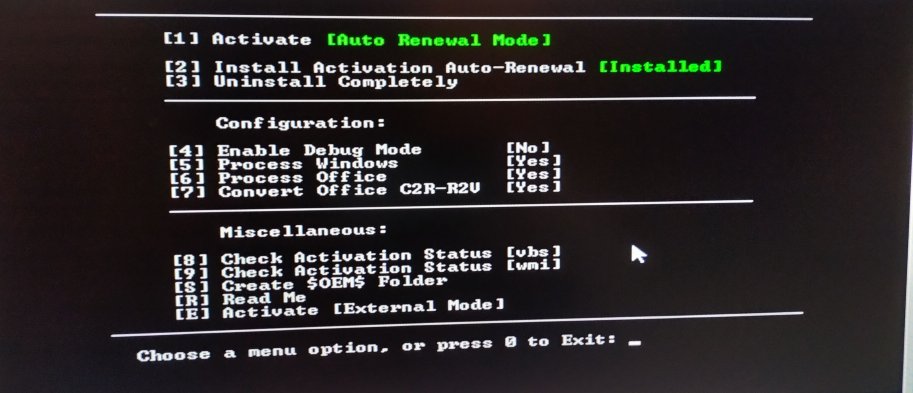
This was done using a script which hooks Windows’ licensing calls to return back a valid volume license. Selecting the “Auto-Renewal” option does the patching.
Then the next process would be acquiring at least network and graphics drivers. Using a seperate USB drive to store these is handy as well as a up to date version of Firefox’s offline installer for Windows. This can be used to download the needed updates to download further updates, drivers, utilities, and development tools. Downloading Windows 7 updates then can take quite some time to patch the operating system completely. For me, took upwards of 6+ hours to update completely, including all language patches. The main priority was acquiring the Windows 7 Conveniance Rollup, which then all other updates are leveraged.
Once all needed drivers and Windows updates are done, the next step was to install:
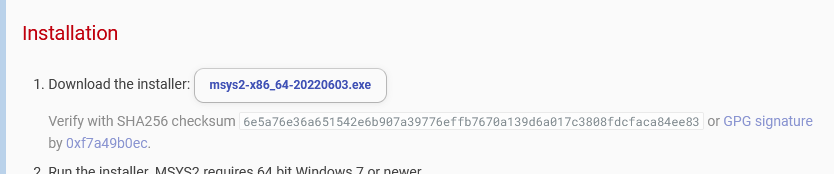
- MSYS2 + all dependancies needed to compile libretro cores as well as my own tools.
First, I downloaded MSYS2
Then, just ran through its normal installation process. using all default options. From there, running the MSYS shell:
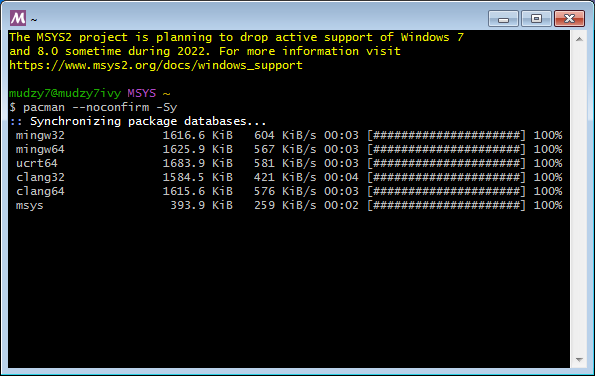
Then a restart. Then:
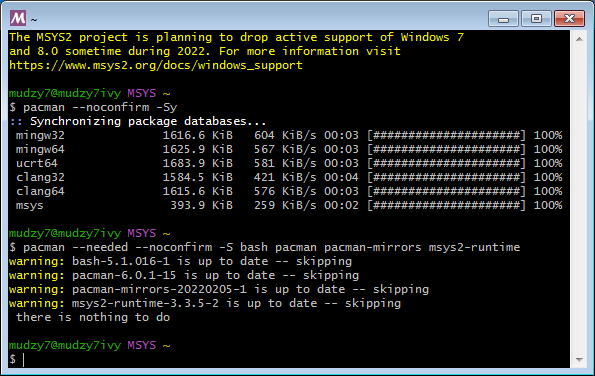
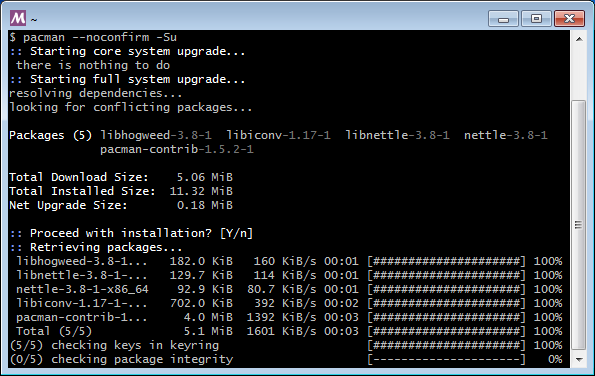
Then a restart. Then to install all MSYS2 dependancies for libretro:
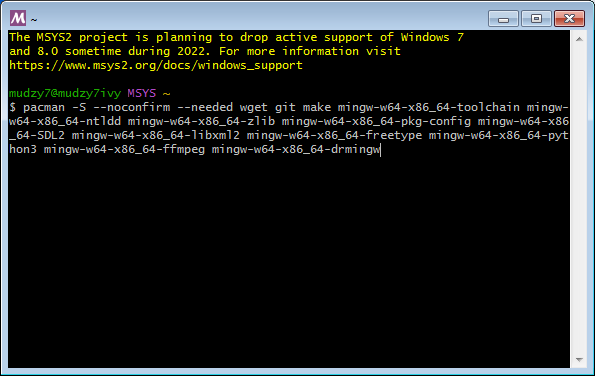
Finally in MSYS2’s maintenance shell for my own tools I use
pacman -S mingw-w64-x86_64-nasm
pacman -S mingw-w64-x86_64-meson
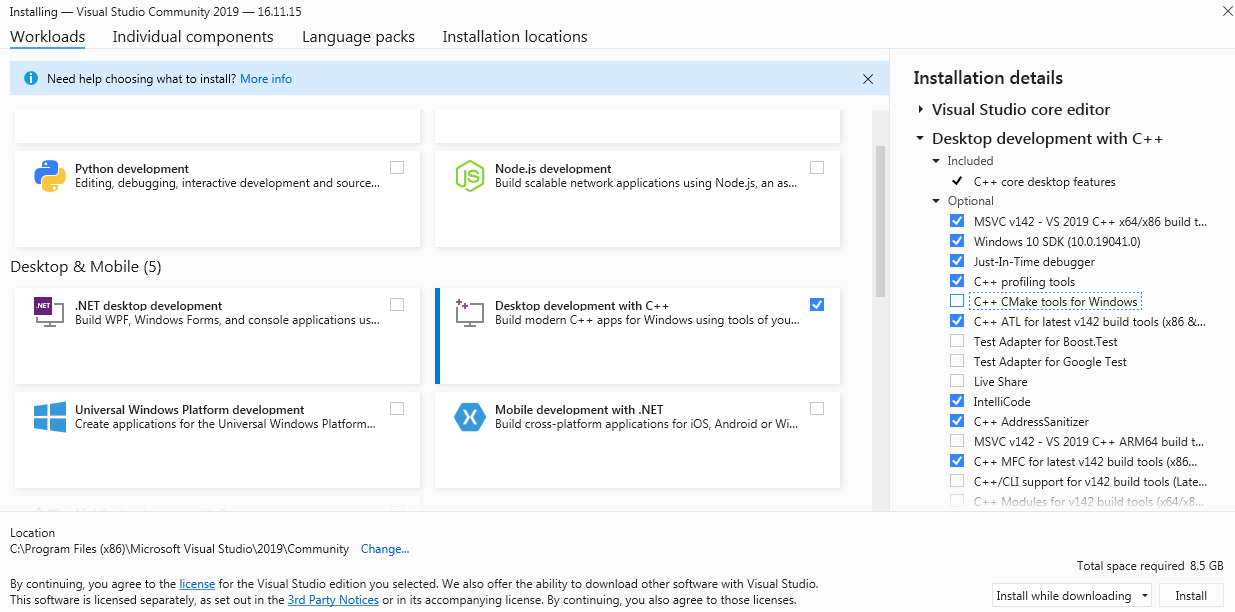
- Visual Studio 2019
- Visual Studio Code and any other utilities wanted.
Preparing Linux Mint
Once Windows 7 setup is complete, focus is on the Linux side.
Once boot is complete, double-clicking on the “Install” icon is done to then start the install process, going through options as needed.
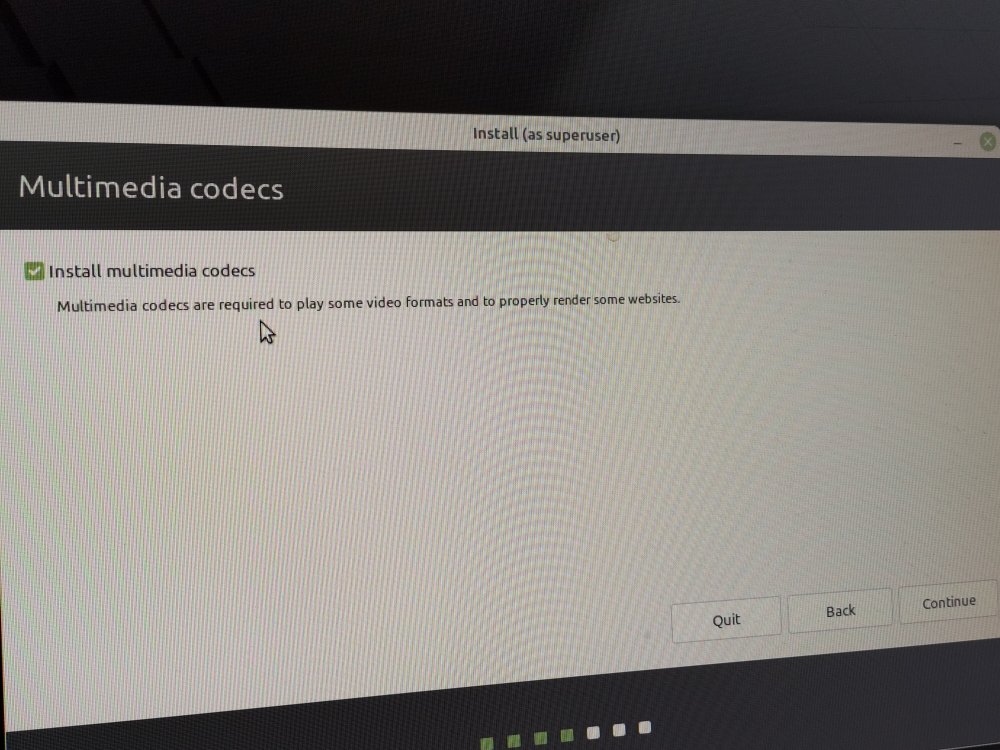
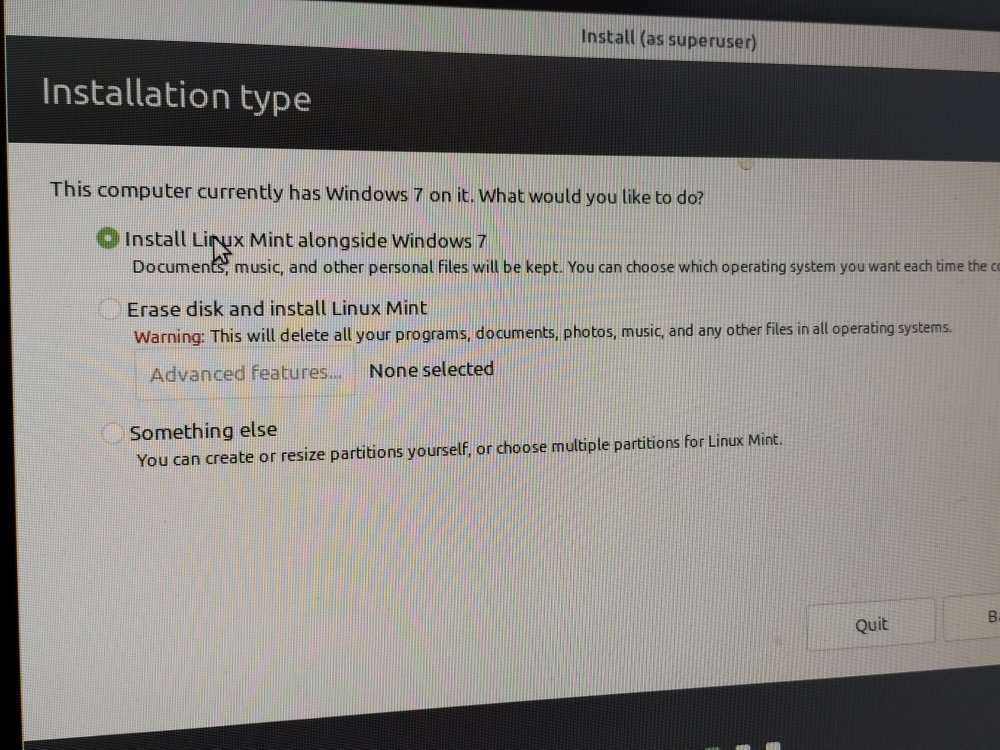
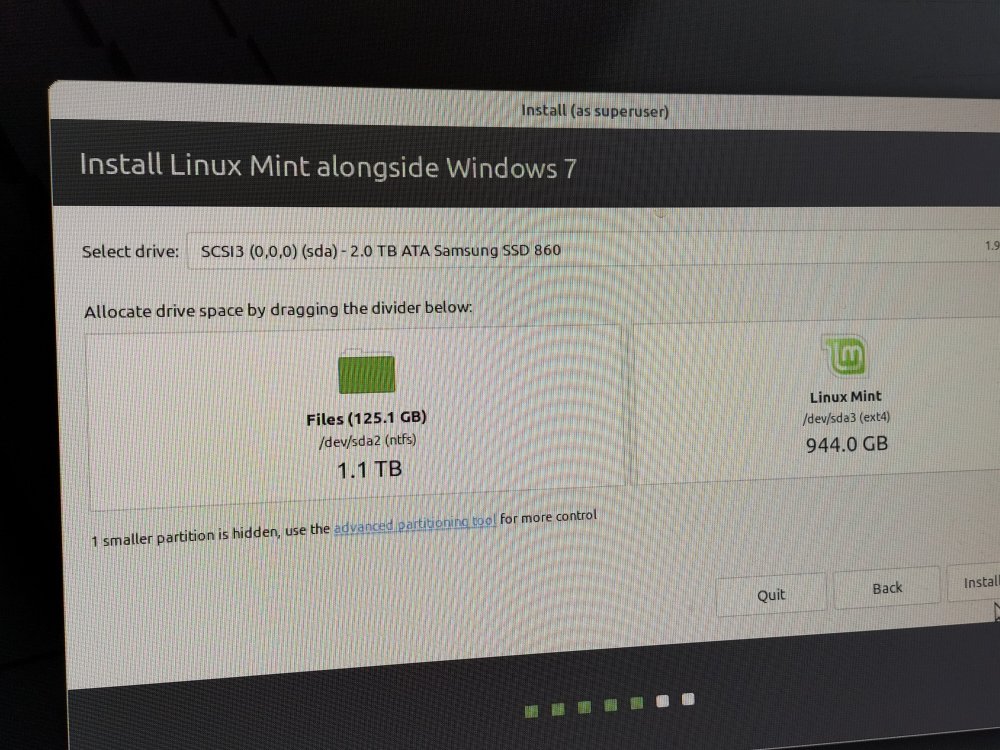
After partitioning, its simply a case of running through options until…
Then its time to remove the install USB drive and working on installing needed Linux applications.

Its a matter then of booting into the new fresh Linux install and installing drivers/utilities/applications.
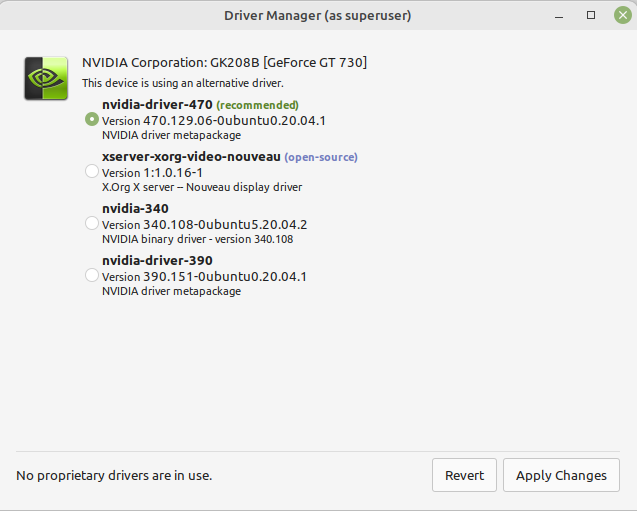
First step was installing any needed graphics drivers and updates.
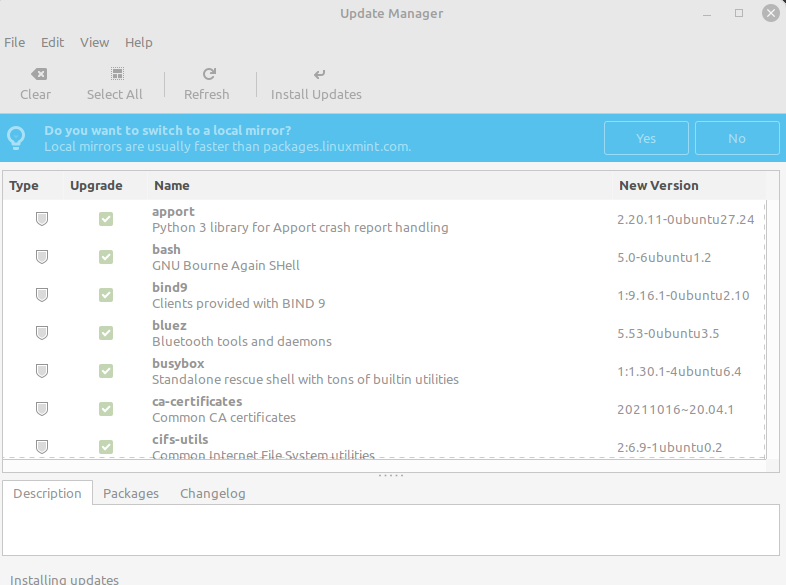
With Linux Mint, in its driver manager its possible to install proprietary drivers that are superior to the FOSS alternatives, so I did this. After the drivers are installed, then any possible updates are installed.
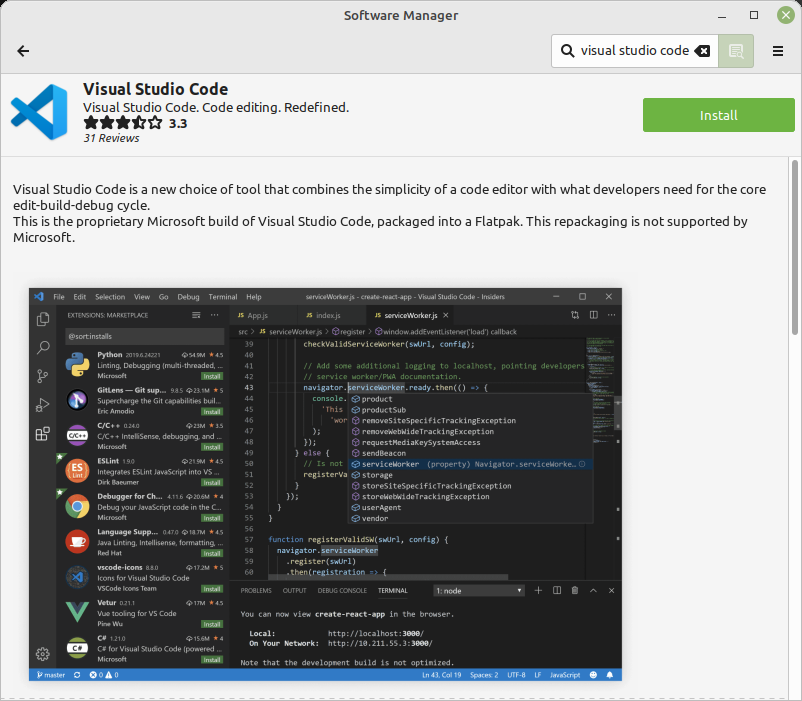
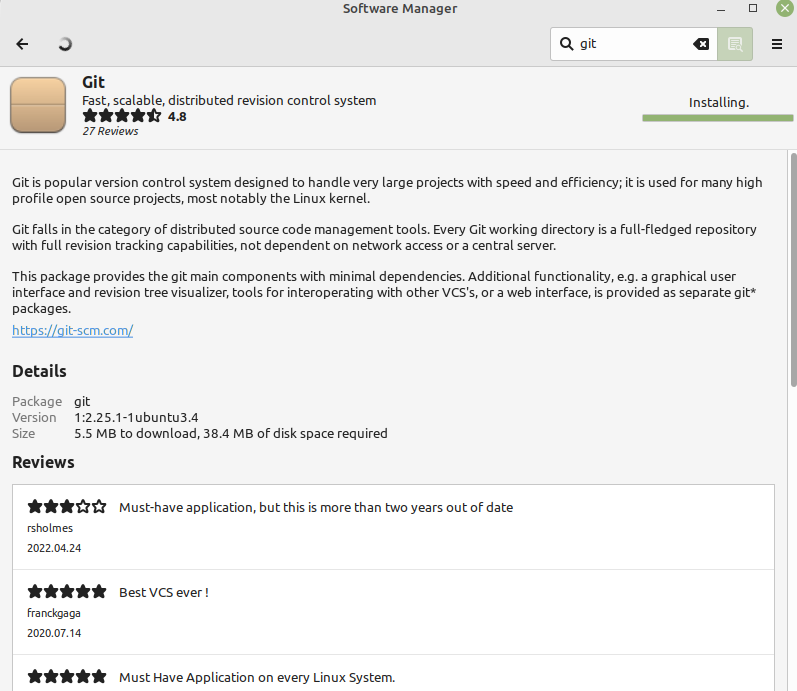
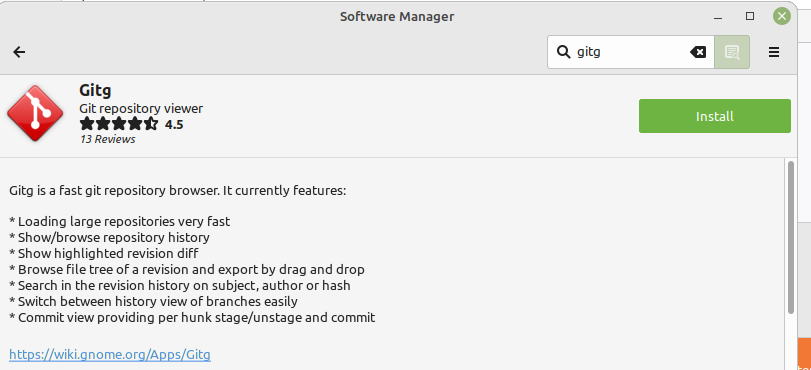
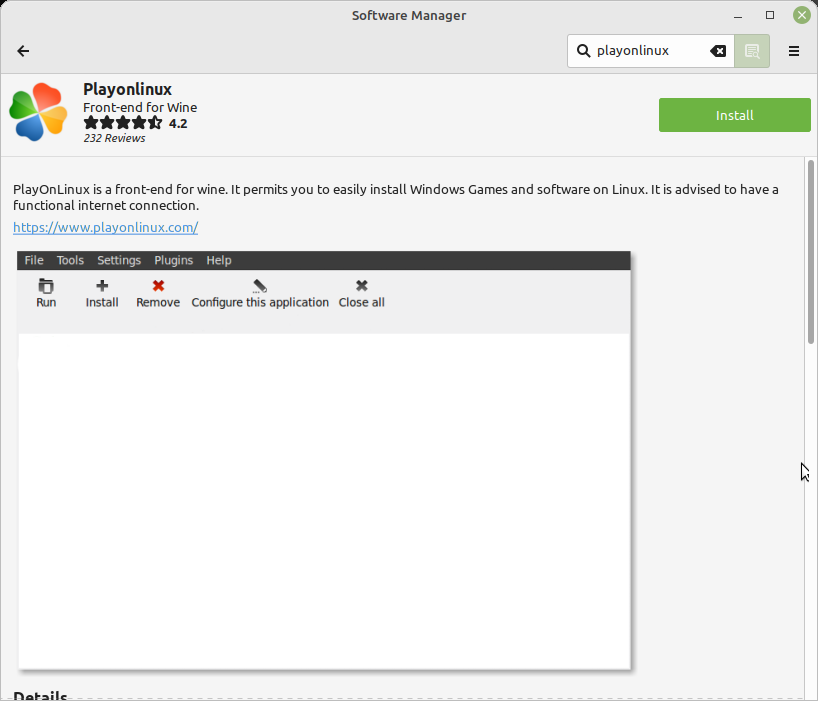
Linux Mint has a very effective “Software Manager” for installing software. It was then a matter of installing:
- Visual Studio Code
- Git
- gitg
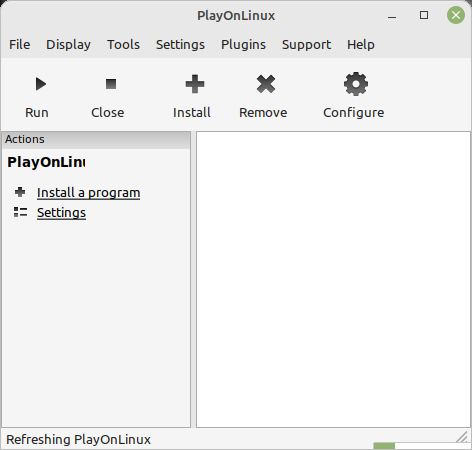
- PlayonLinux
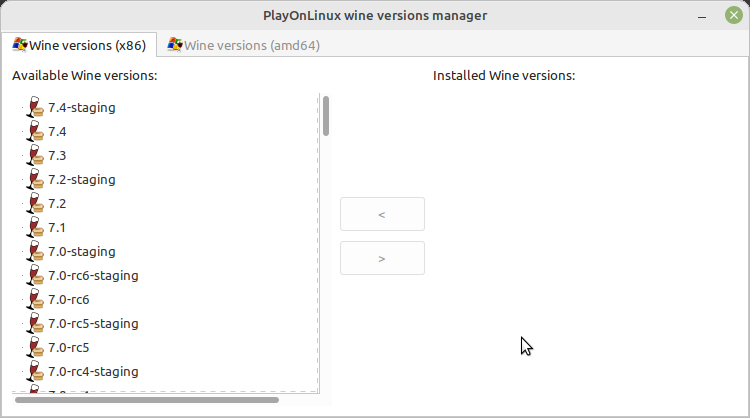
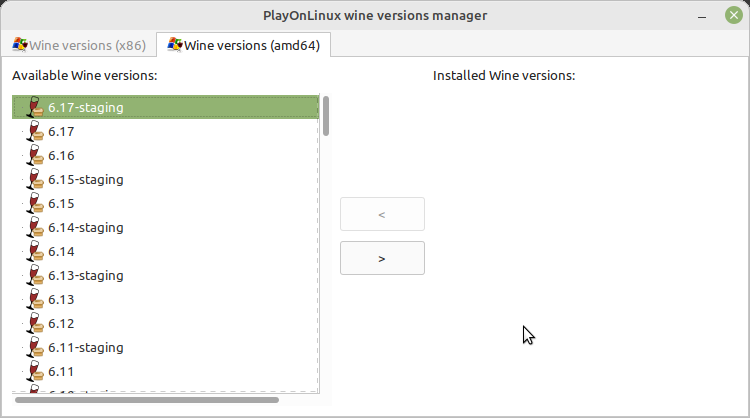
I then ran PlayonLinux. Then updating Wine inside PlayonLinux to the most bleeding edge versions:
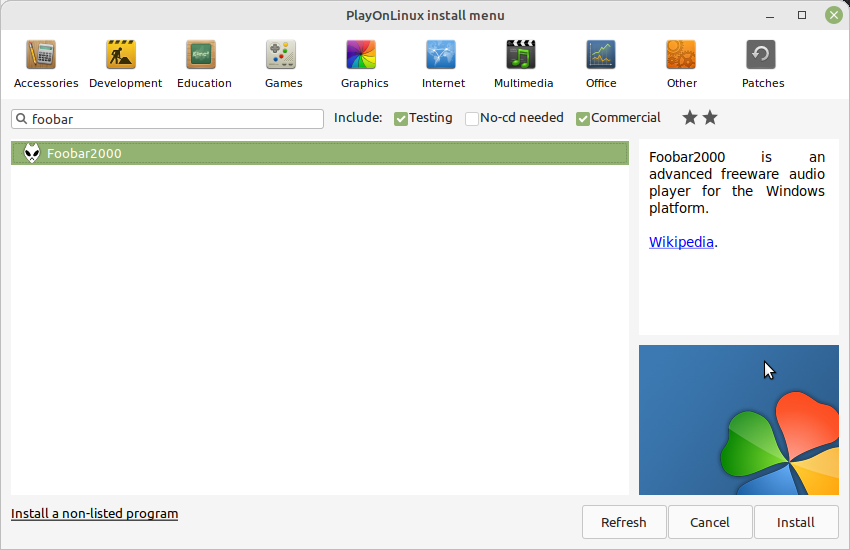
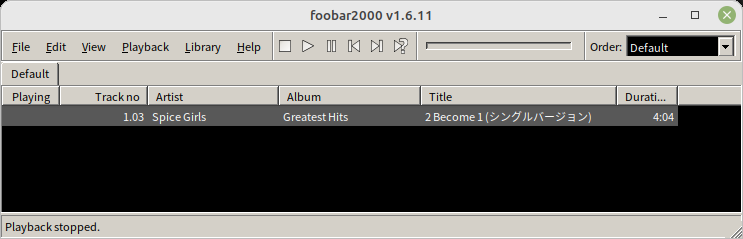
and then installed foobar2000
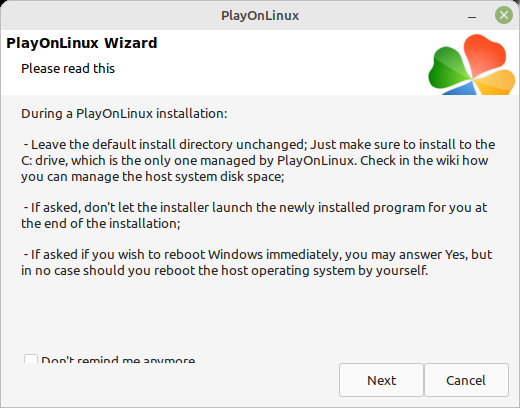
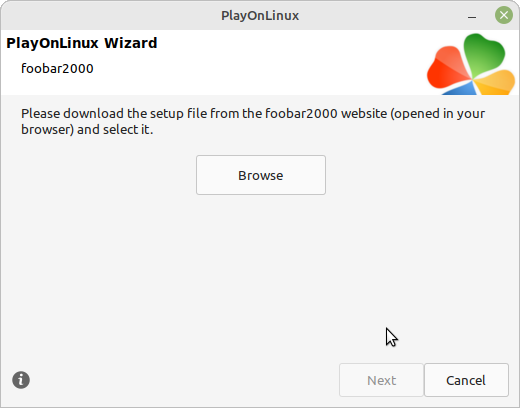
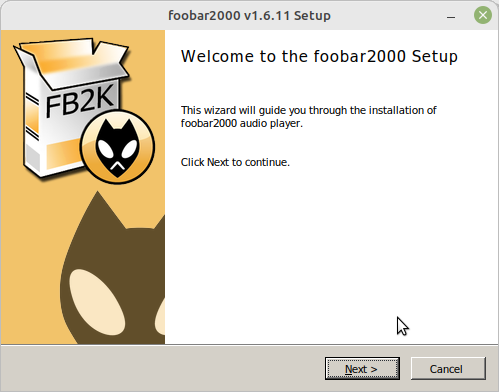
Then its needed to set up FB2K’s dependancies in Wine, by clicking on “Configure:

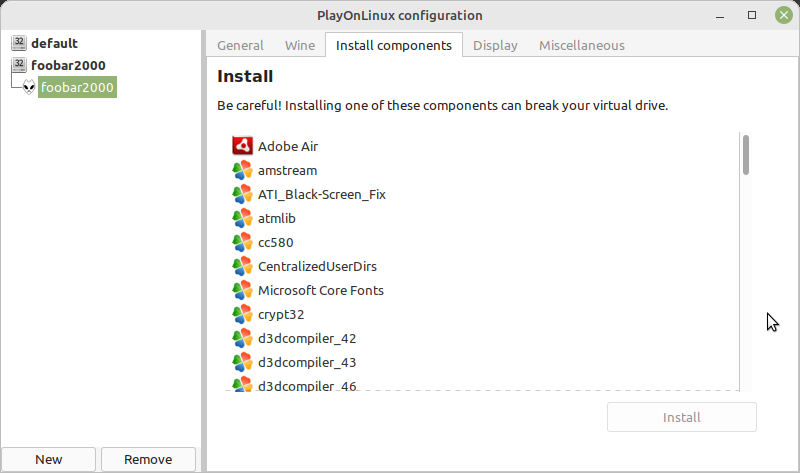
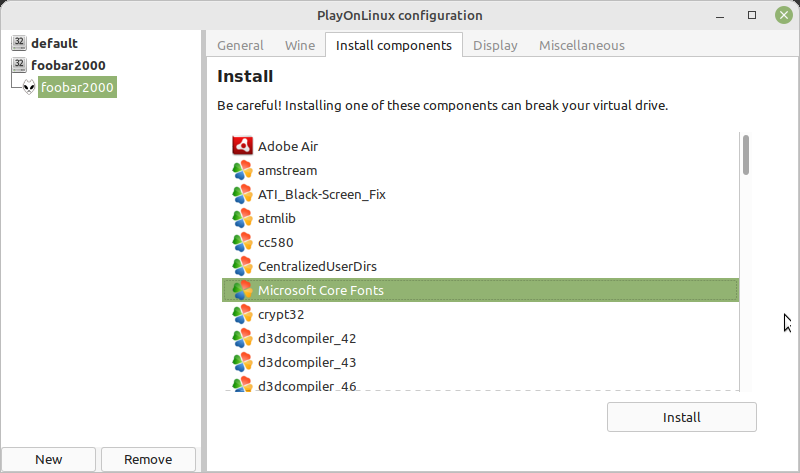
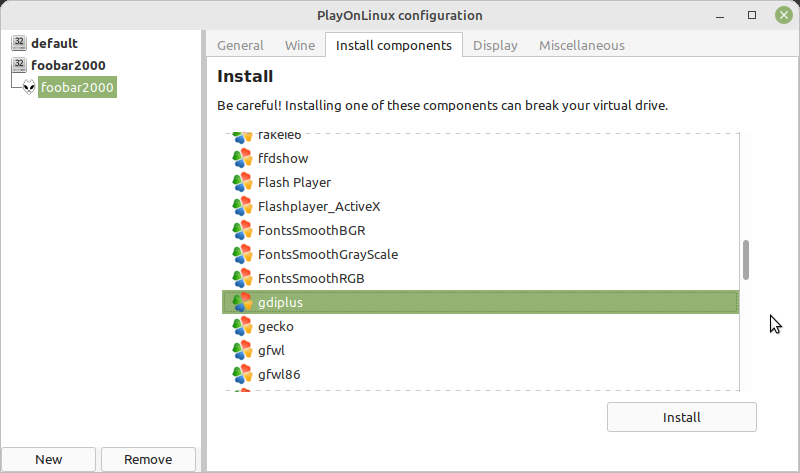
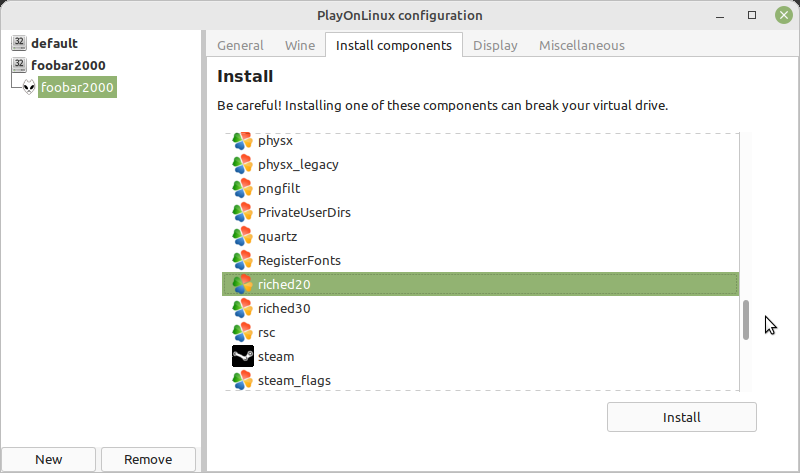
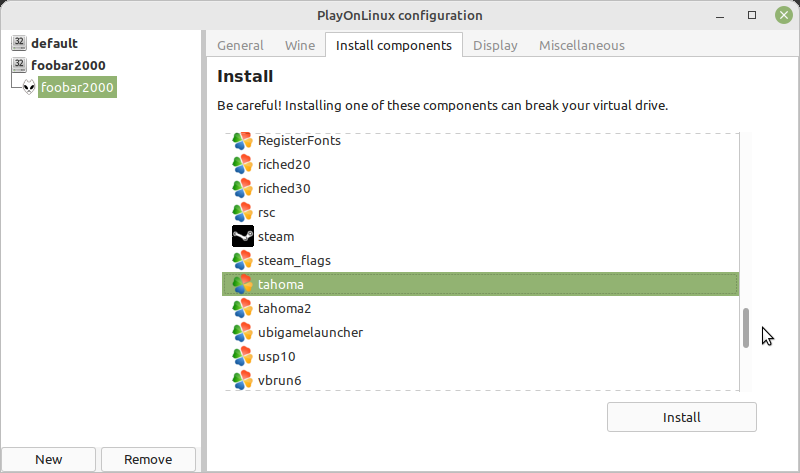

There is however a font rendering problem with Wine/PlayonLinux in FB2K that manifests in broken font support:
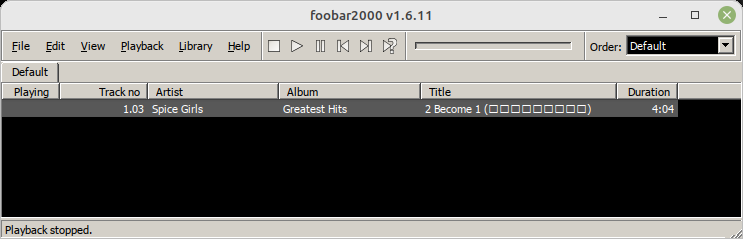
Fixing was trivial by changing the default UI display font.
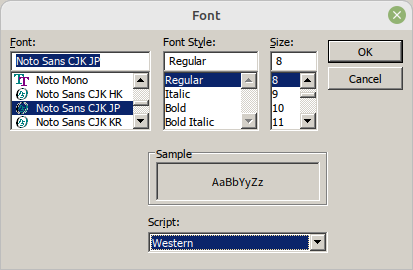
As a result:
From a terminal its possible then to install Ubuntu RetroArch/libretro dependancies.
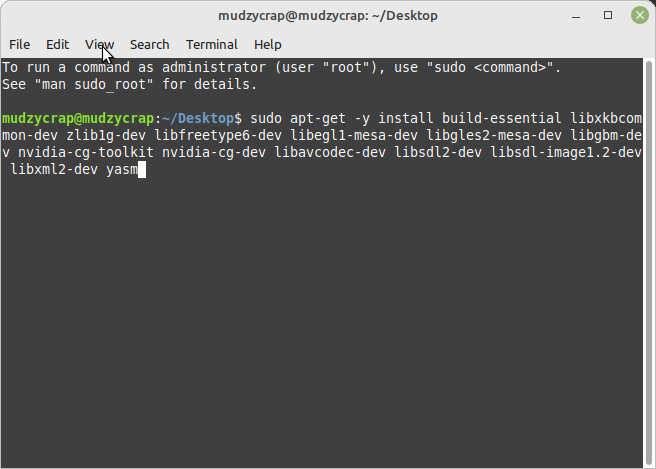
And for my own software, Meson.

Problems
There was several problems:
-
Finding the right drivers for Windows 7, namely chipset. Due to me using a Ivy Bridge based setup, many of the manufacturers drivers did not install correctly. Using Intel-direct drivers solved this, including for Intel network drivers. Once the drivers for network were installed, everything went fine.
-
Installation errors on some things due to old bundled .NET Framework. This was solved using the Windows 7 Conveniance Rollup installations to some degree. Installing that also required the April 2015 Servicing Stack upgrade.